
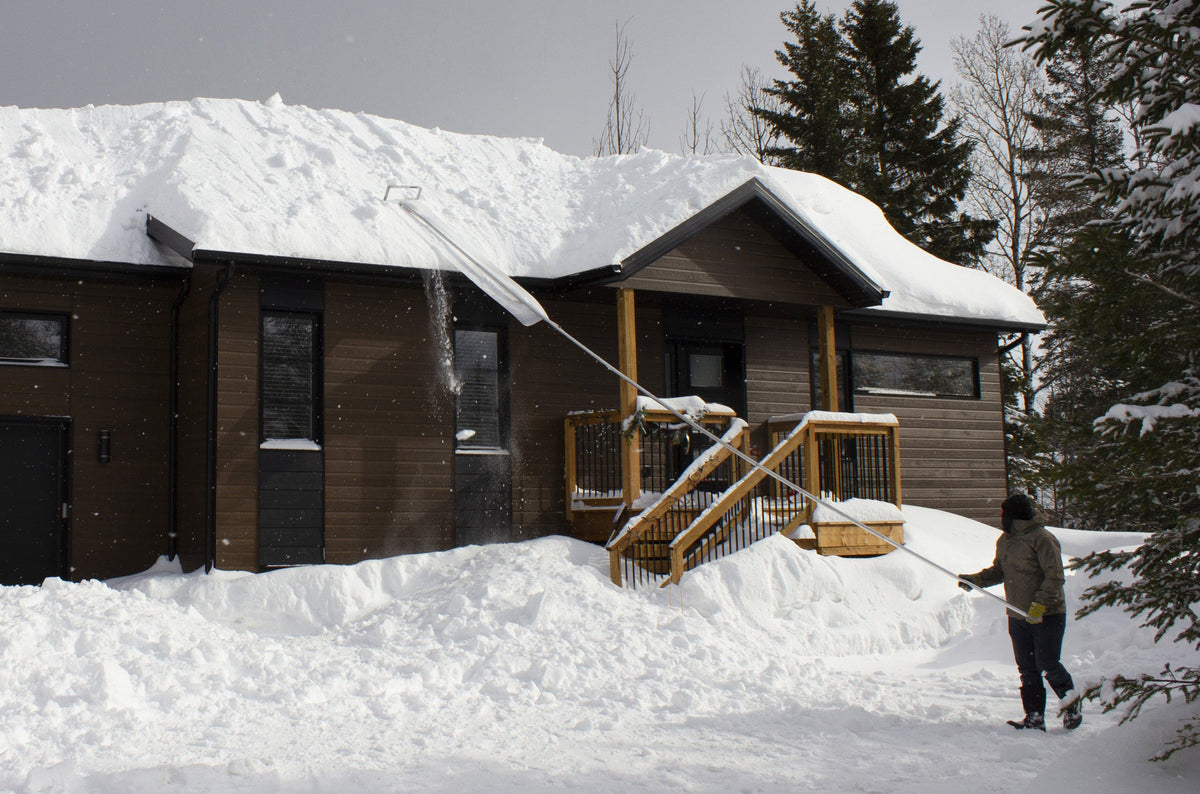
On a low-slope roof (4/12 pitch or less) or in a roof valley, snow slides off more slowly and the frame is harder to keep flat on the roof. A few adjustments make the job much easier.
1. Get enough reach
On a low-slope roof, you need to stand farther from the house to keep the frame parallel to the roof. That's why the SnowPeeler Premium, with its 30 ft (9 m) handle, is recommended for low-slope roofs and roof valleys. If you have a Classic, the 10 ft (3 m) handle extension kit brings it to 30 ft (9 m). On some roofs, the extension kit may also be needed with the Premium.
2. Keep the frame in contact with the roof
Beyond 20 ft (6 m), a straight handle tends to lift the frame. The curved handle adapter has an 8° bend that keeps the frame in consistent contact with the roof and increases effectiveness by 30% with long handles. It comes standard with the Premium and fits all SnowPeeler models.
3. Use a longer slide in valleys
The 15 ft (4.5 m) XL slide kit is designed for low-slope roofs, hard-to-reach roof valleys and rooftop use. A 1 lb (455 g) stainless-steel counterweight in the hem at the base helps keep the slide in place so the snow keeps flowing.
4. Work in sections
- Clear the first 2 ft (60 cm) of snow closest to the gutters.
- Clear 5 ft at a time with upward strokes, moving sideways.
- Add a pole only when you need more reach.
5. Clearing from the roof: only with a harness
The SnowPeeler is designed to be used from the ground. With the reversible frame adapter, it can also be used from the rooftop: the handle is mounted on top of the frame and you pull the frame from the base of the roof toward the peak. Only do this while wearing an approved roofing safety harness, and never near power lines or in windy conditions.
See also our accessory compatibility guide.
Share:
Ice Dams: Causes, Prevention and the Role of Roof Snow Removal
Roof Rake Accessories: SnowPeeler Compatibility Guide